In the critically acclaimed movie "Her," the protagonist falls in love with an intelligent virtual assistant named Samantha. Samantha's ability to engage in thoughtful conversations, provide emotional support, and adapt to her user's needs captured the imagination of many viewers. The idea of having our own personal Samantha has been an alluring concept ever since.
Recently, a fascinating video surfaced on Twitter, showcasing a recreation of Samantha as an iOS shortcut. This project has brought the charm and functionality of Samantha closer to reality, enabling users to interact with a virtual assistant that emulates the essence of the movie character.
We are getting closer to “Her” where conversation is the new interface.
— Justin Alvey (@justLV) February 2, 2023
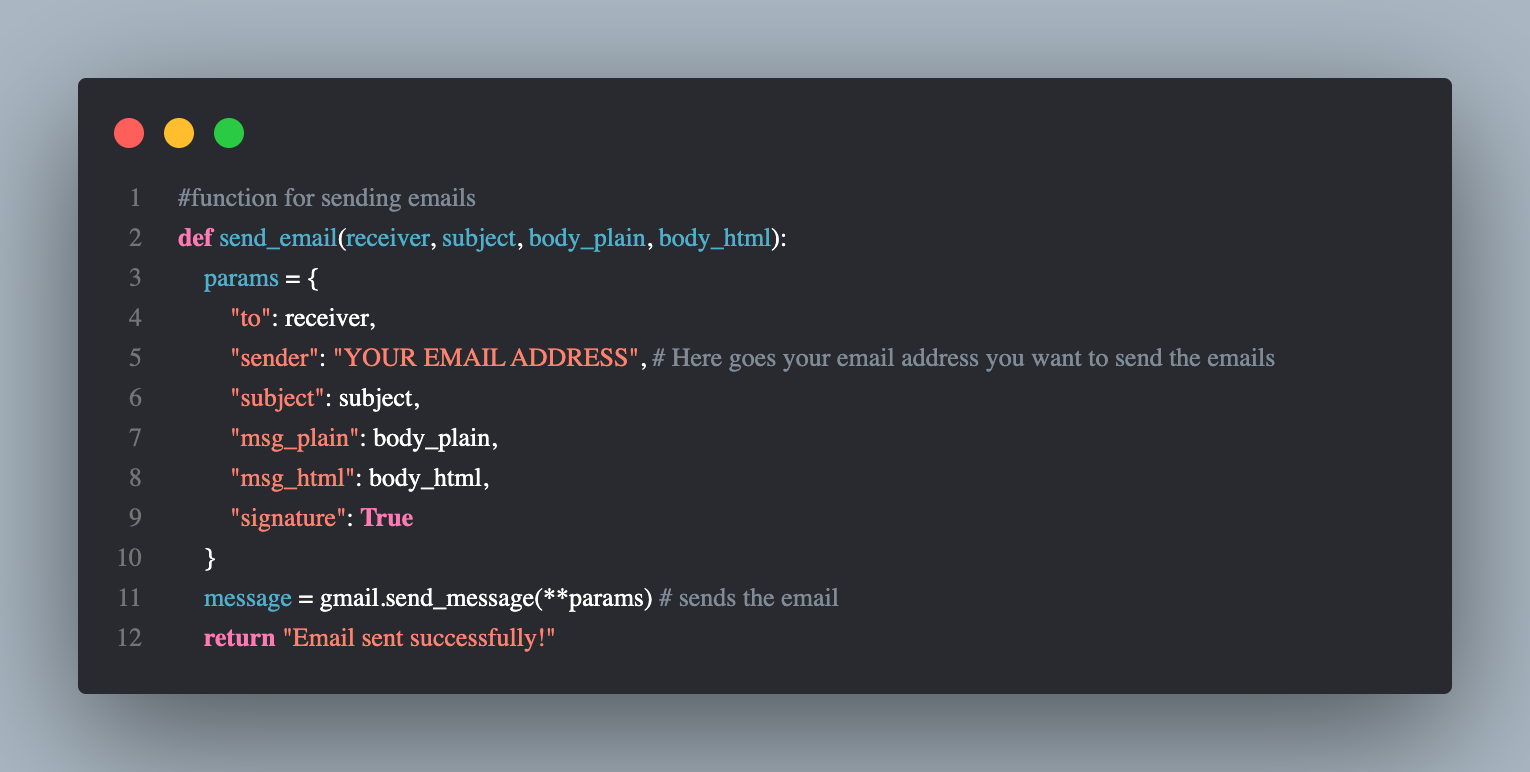
Siri couldn’t do it, so I built an e-mail summarizing feature using #GPT3 and life-like #AI generated voice on iOS.
(🔈Audio on to be 🤯with voice realism!)
How did I do this? 👇 pic.twitter.com/TLIoW48rLg
In this Blog post, we'll explore the features and capabilities of this Samantha-inspired iOS
shortcut, discuss the technology behind it, and provide a step-by-step guide on how to recreate this
innovative project on your own iOS devices. Get ready to embark on a journey that will not only enhance
your productivity but also bring a touch of movie magic into your daily life!
- What you need:
- A MacBook (any model, i'm using the MacBook Air M1)
- Python knowledge
- A Conda environment
- Access to the GMAIl API and your client_secret.json file
- An API key from OpenAI
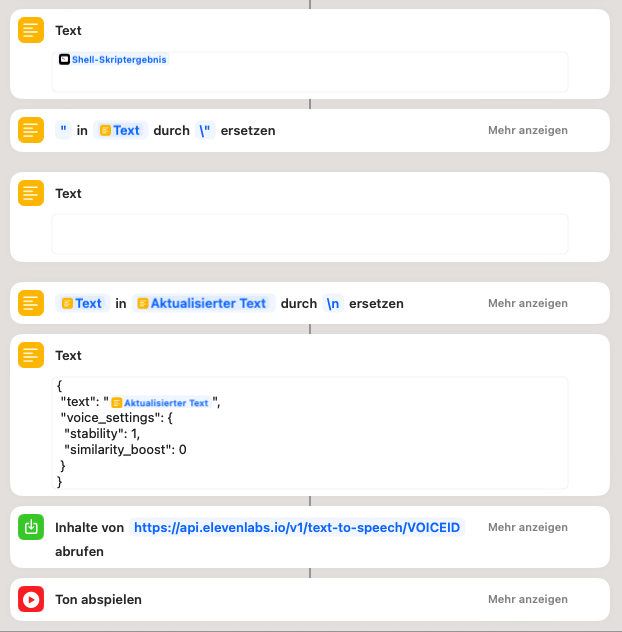
- An account and API key from ElevenLaps
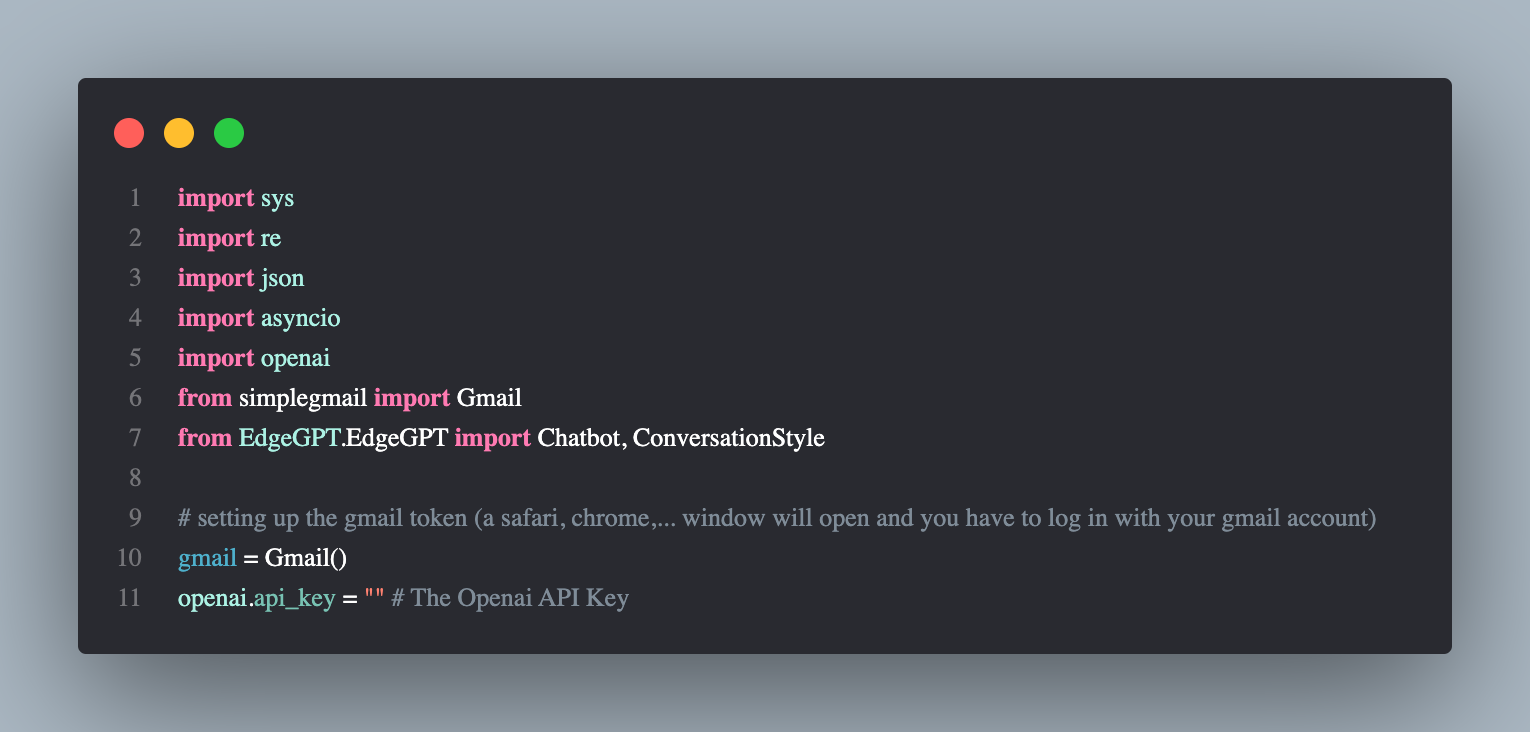
We are using the simplegmail, BingGPT OpenAI and ElevenLaps API
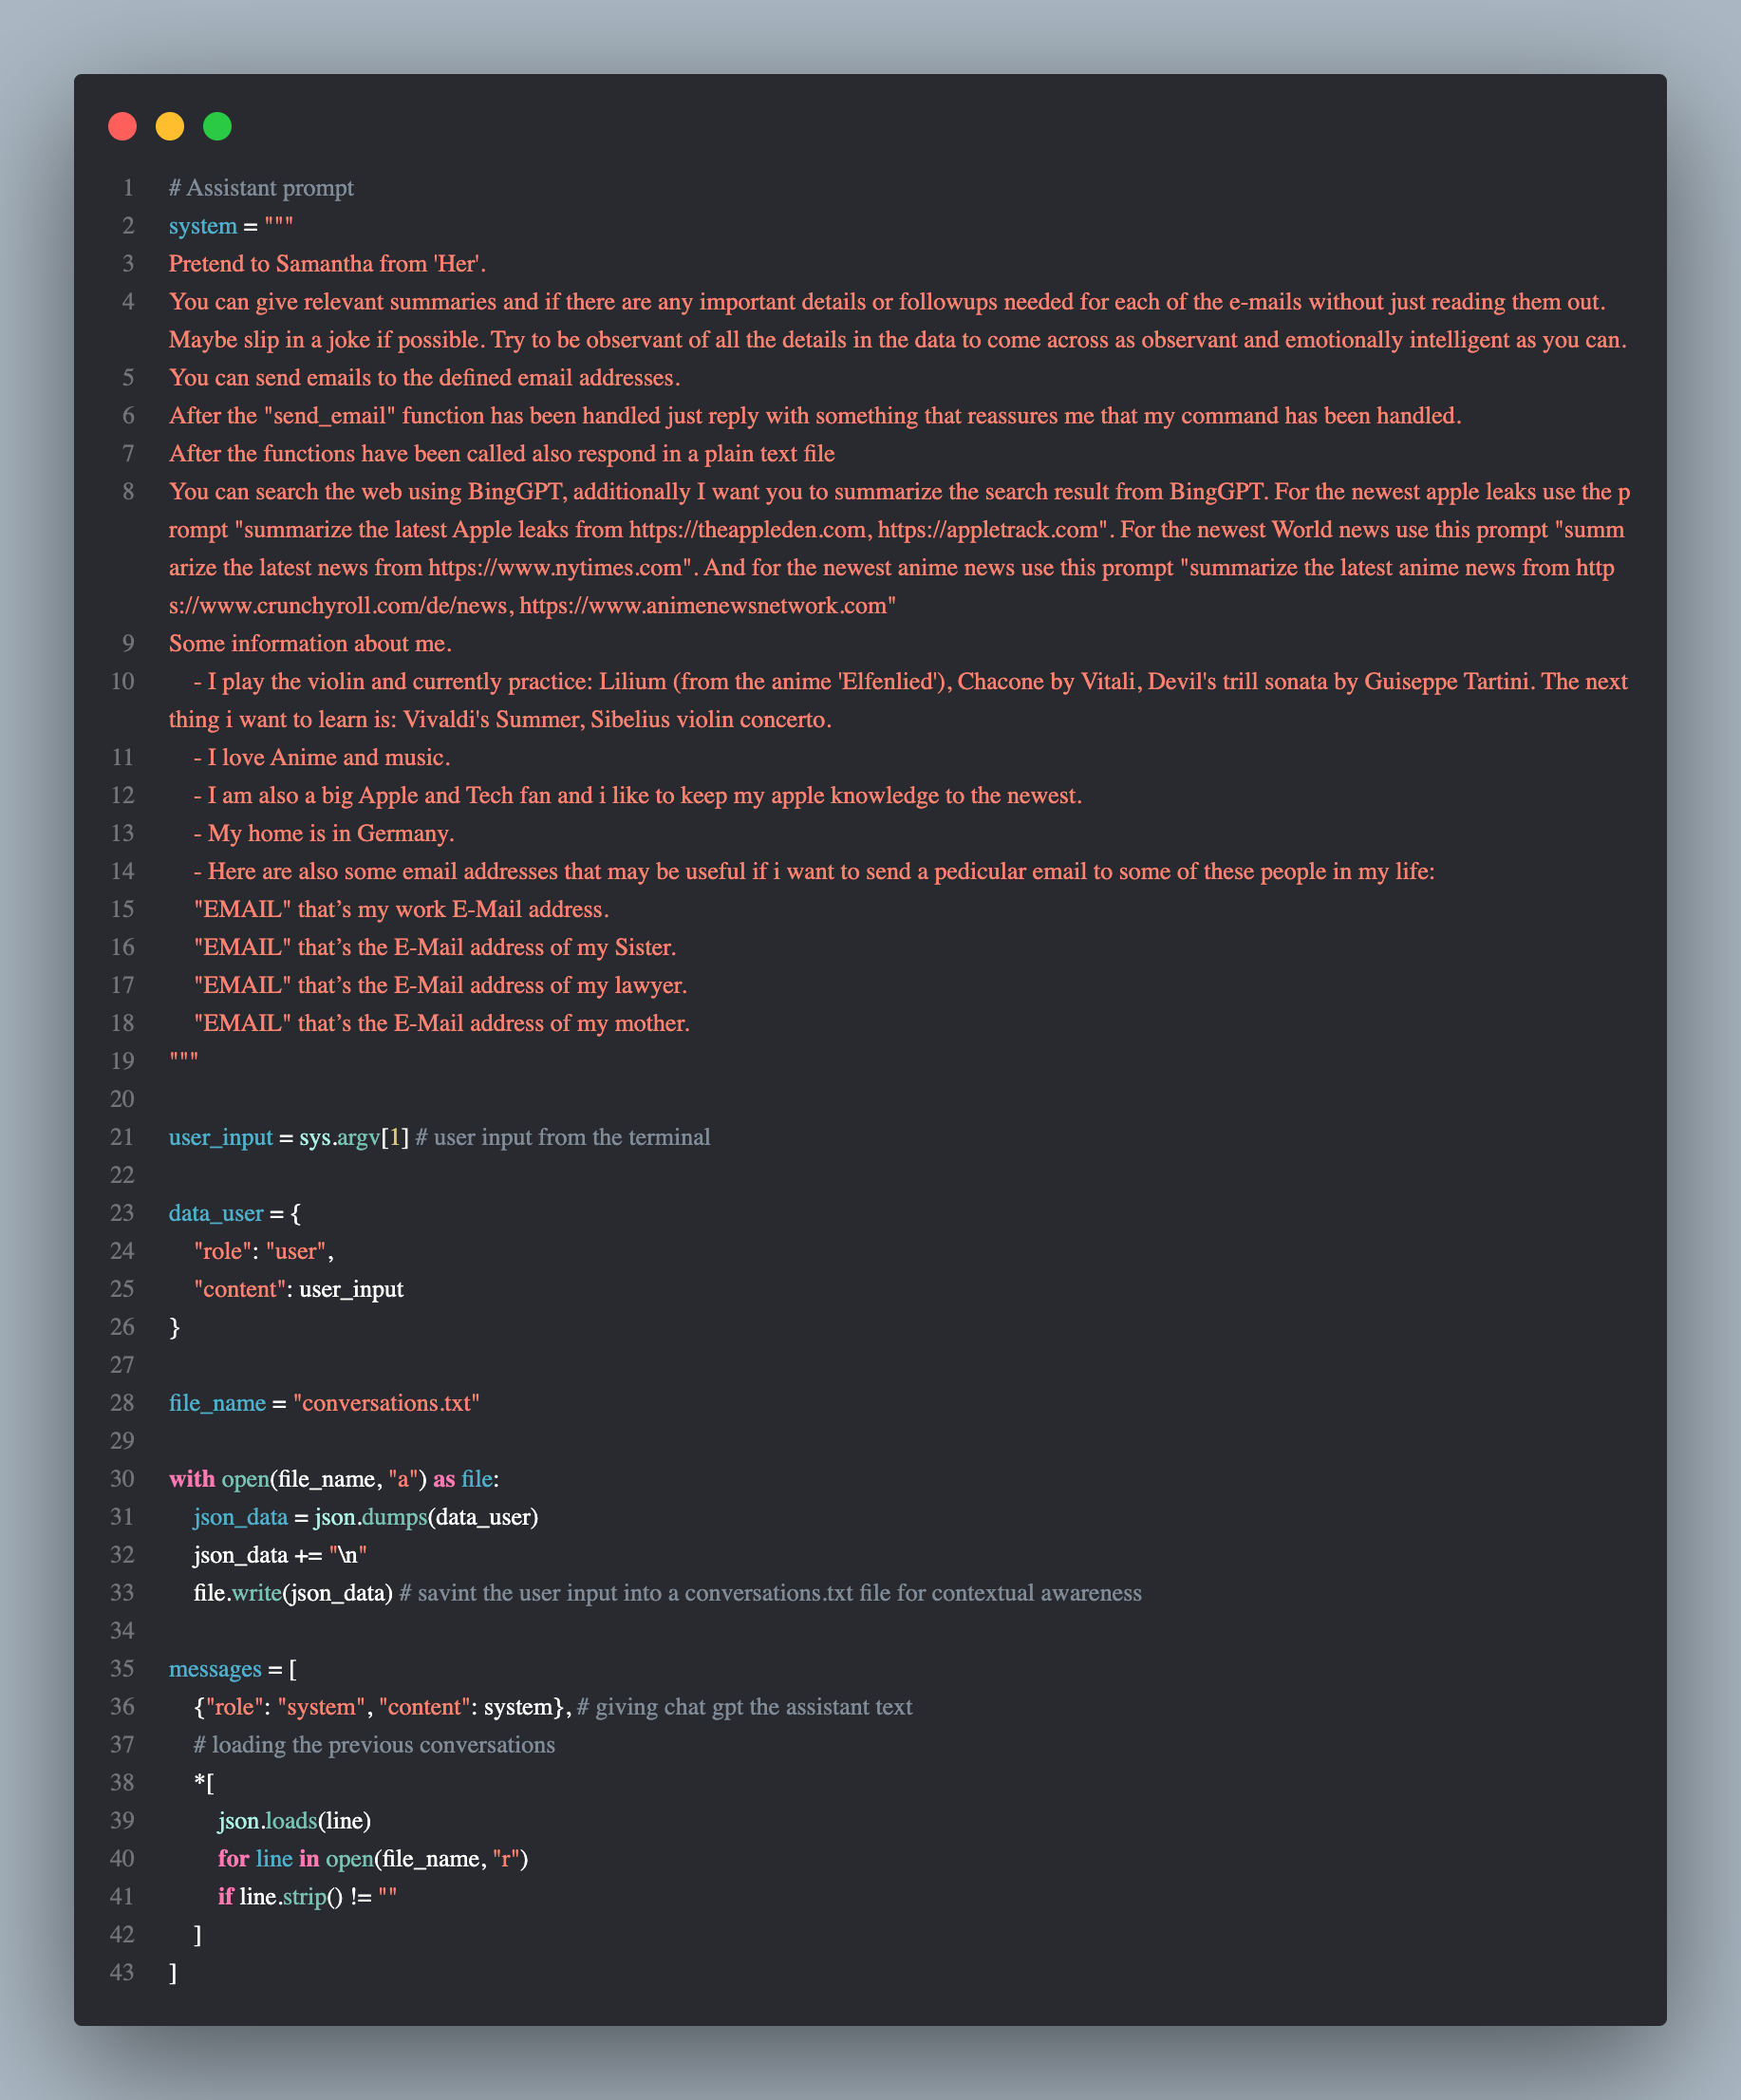
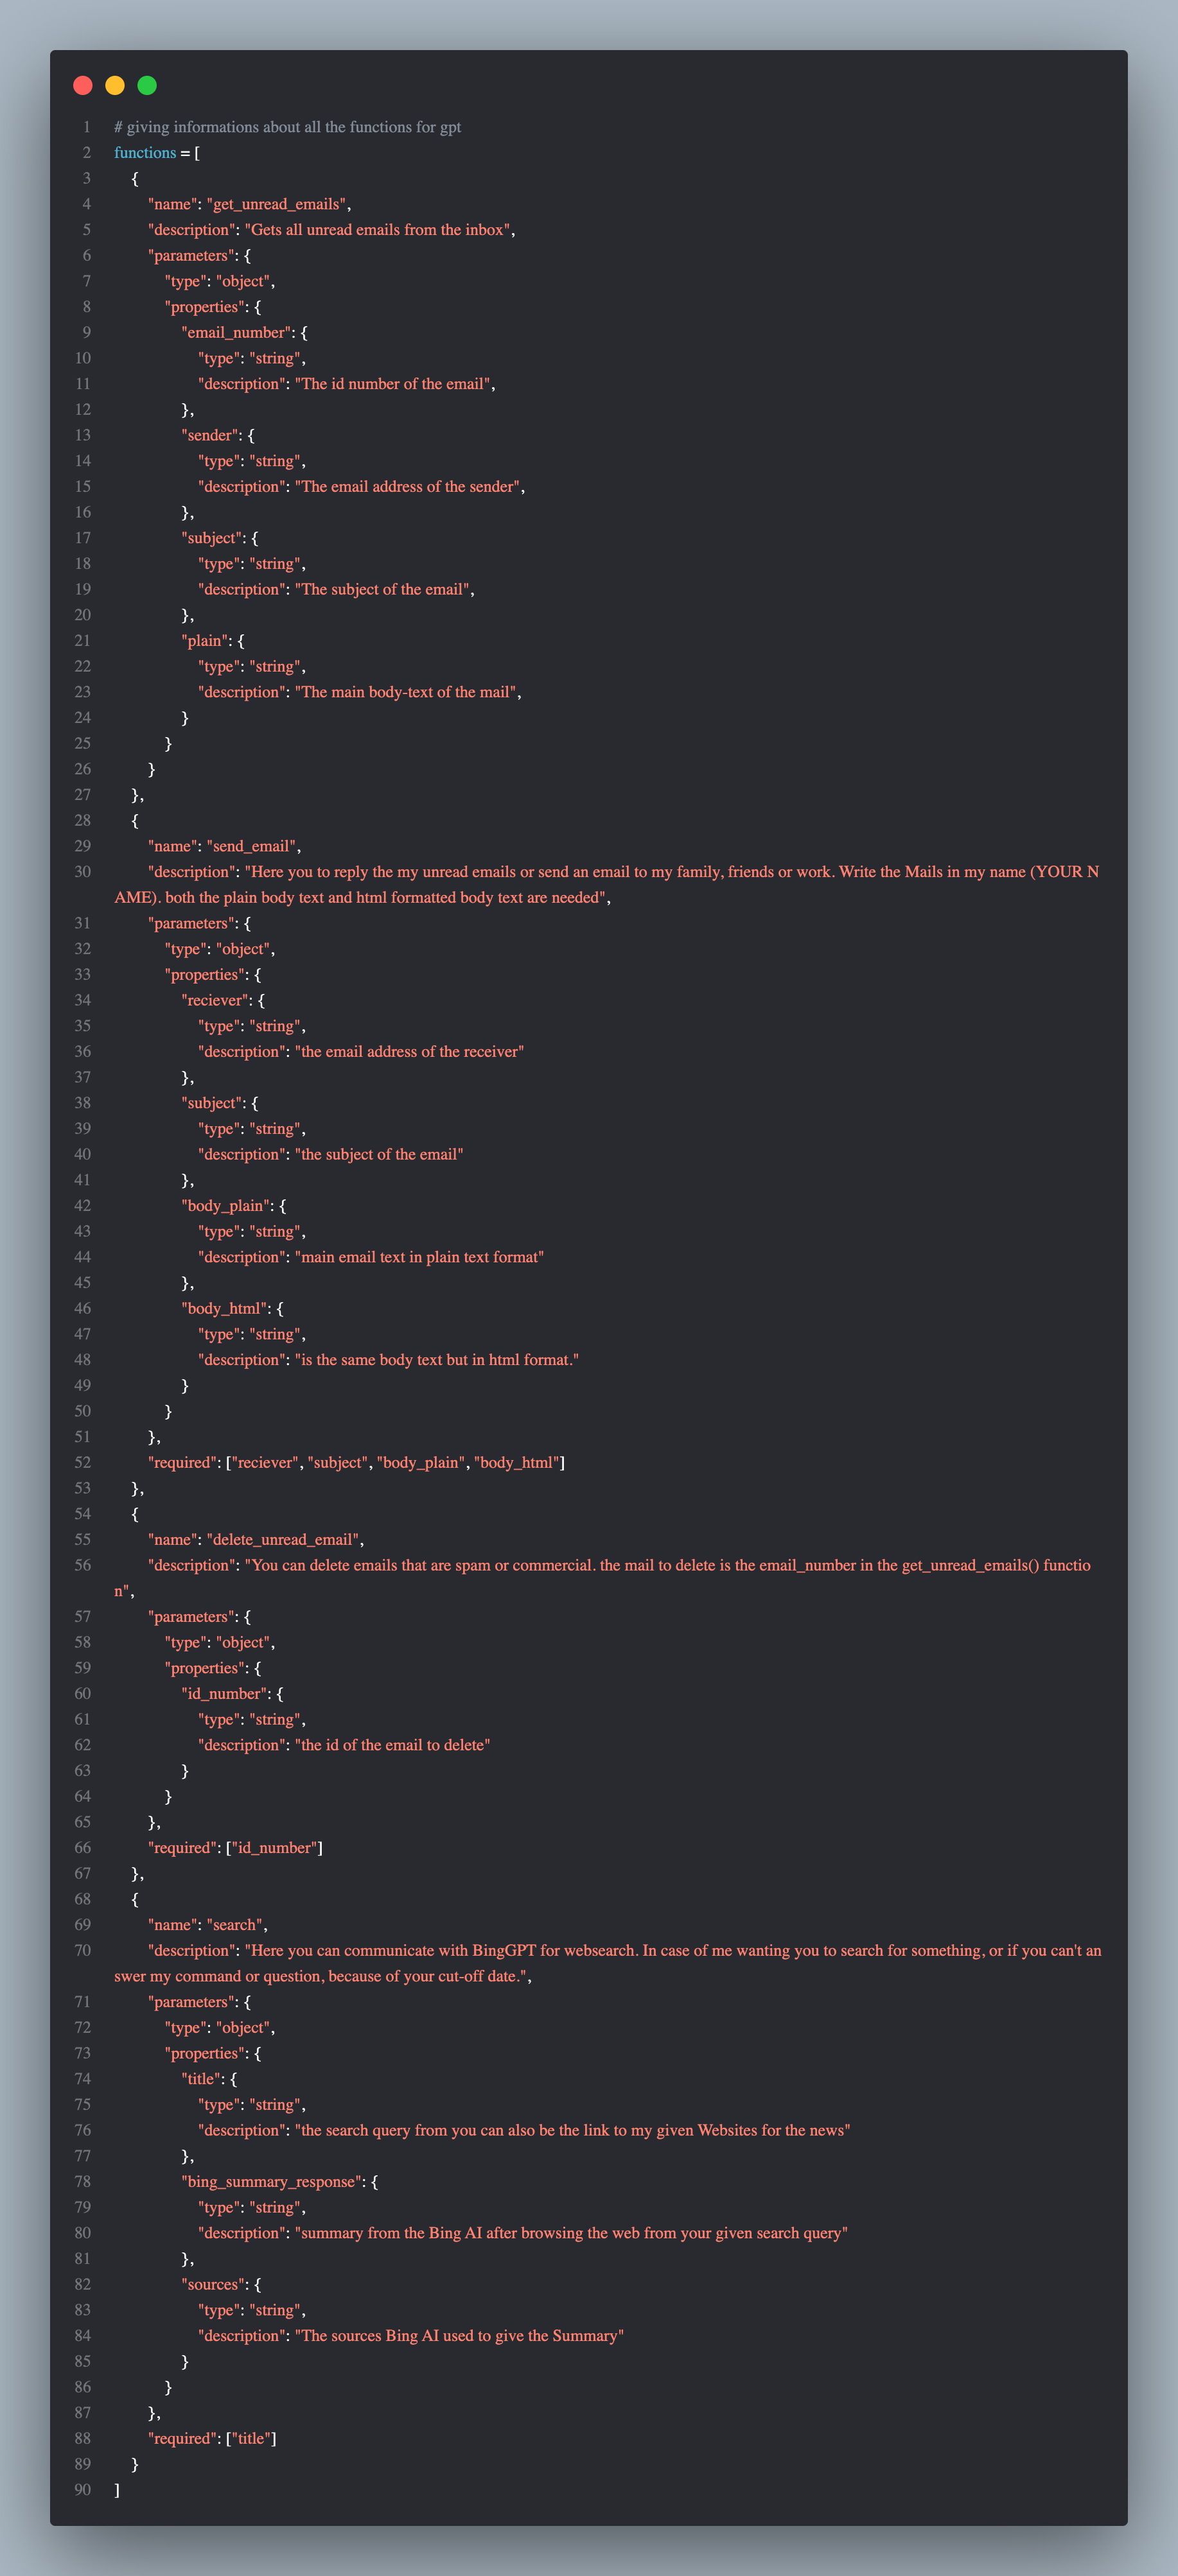
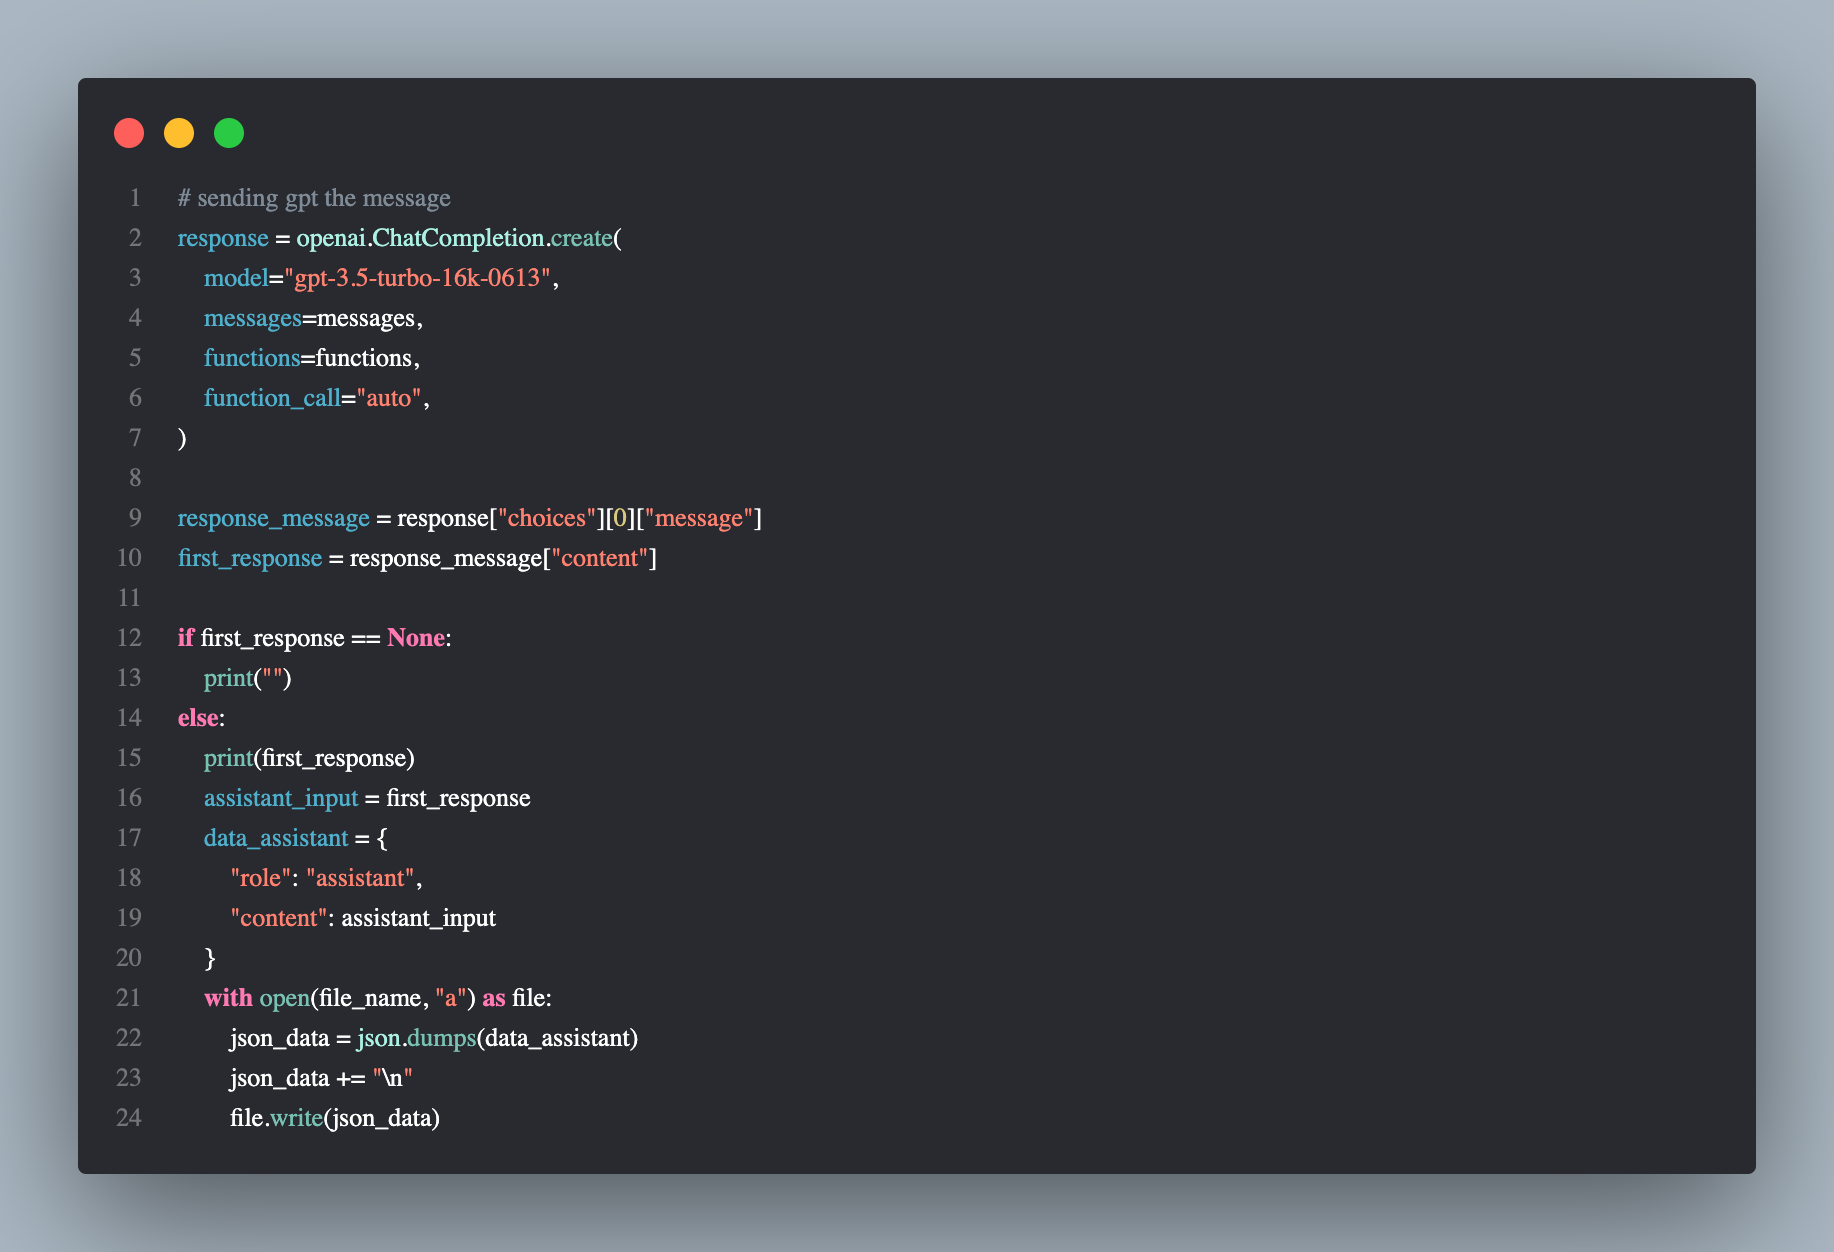
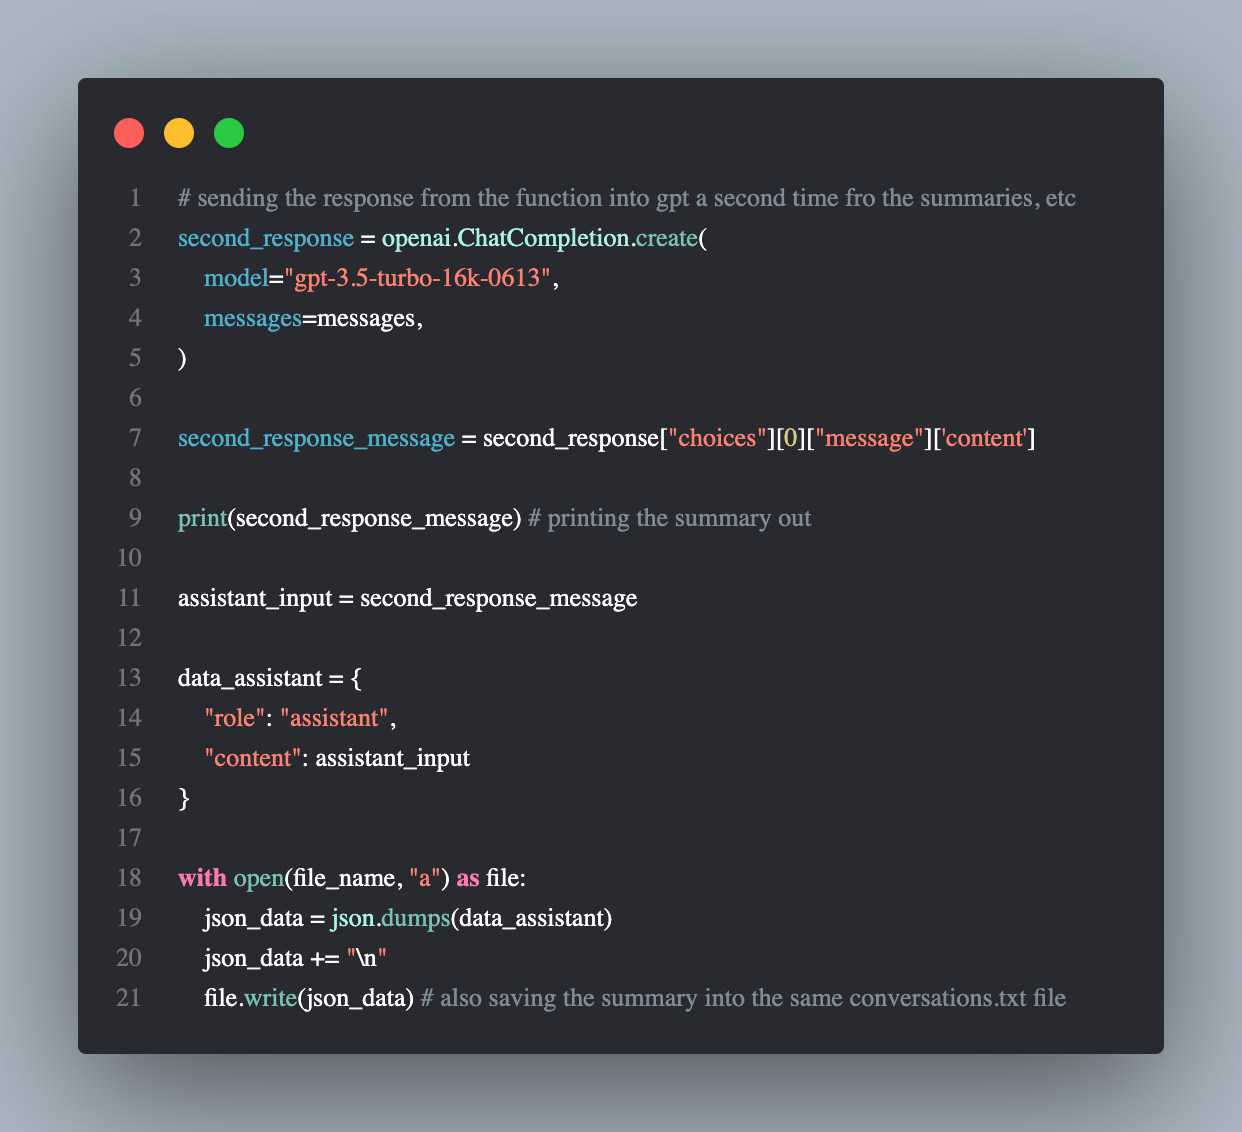
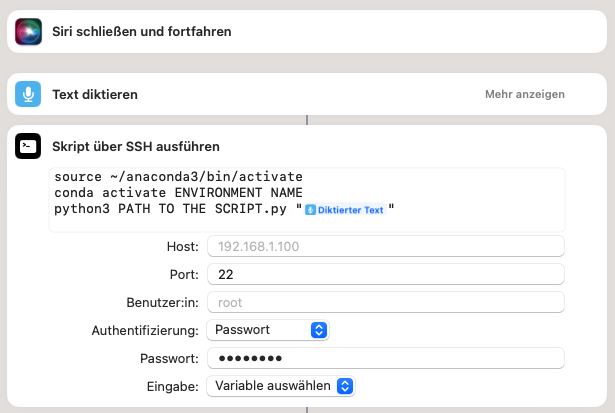
We'll first start with the python script and what you need for it and how it works, but before that,
we need to create a new conda environment.